Welcome to install guide. You can use this page to ensure you follow the correct procedures to install your wall panel and accessories correctly for the best result possible.
You can contact us directly via the options below.
“ Not so keen on DYI? Ask about our installers “
Welcome to install guide. You can use this page to ensure you follow the correct procedures to install your wall panel and accessories correctly for the best result possible.
You can contact us directly via the options below.
“ Not so keen on DYI? Ask about our installers “
– During install please always ensure appropriate PPE is worn at all times. This includes eye protection, dust mask, gloves and hearing protection if using power tools.
– While all our panels are thoroughly inspect prior to delivery, we advise the installer checks there has been no damage to the panel during sheet preparation prior to install.
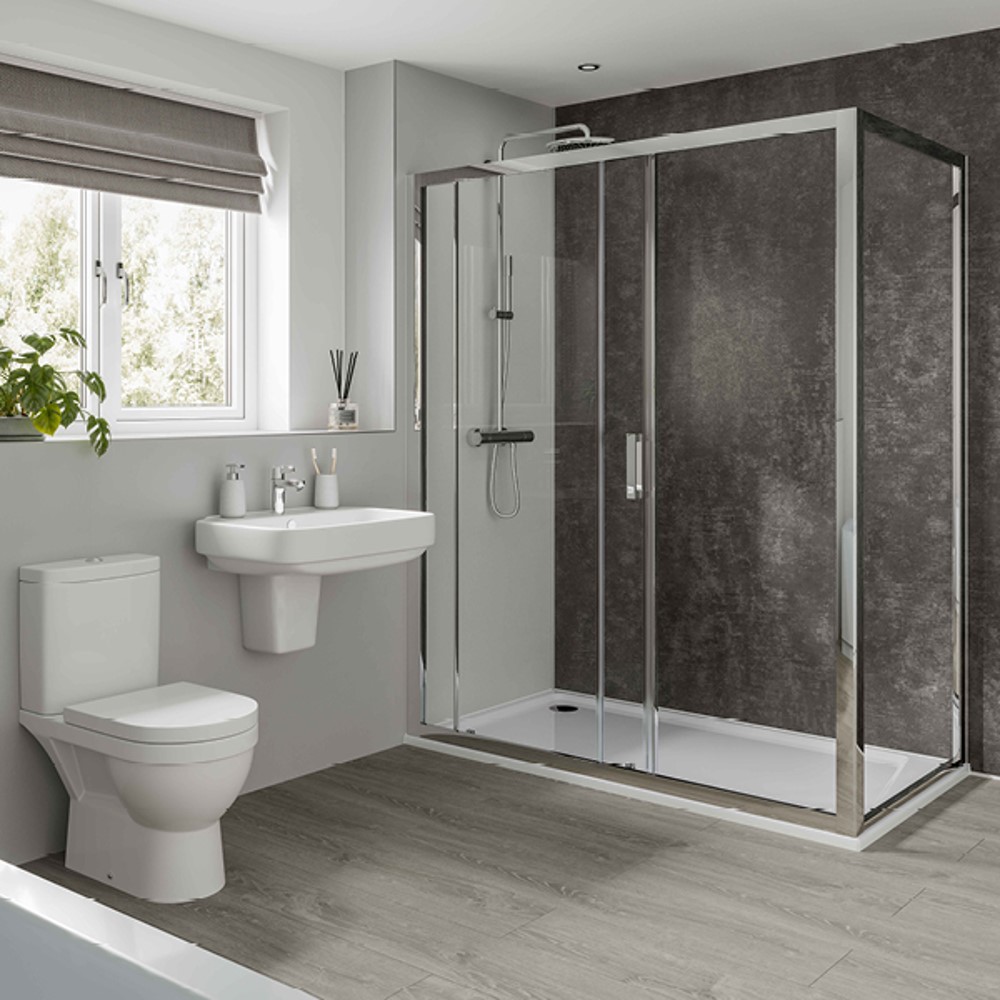
– Our panels can be fitted to most surfaces and can even be fitted over your existing tiles. These surfaces include plaster, steel or timber battens, brick, concrete or tiles.
– Before fitting the panels check if the surface is even or not. If surface is uneven, battens should be fixed at 450mm intervals to the wall. Leave small gaps to aid ventilation somewhere on each row of battens. They can be screwed, nailed or glued to the wall.
– The most popular method of fixing panels is glue. If using this method please ensure that the wall or battens are free of dust, moisture or grease. For best results and to avoid voiding warranty use our polyurethane glue that can be included from Pronto Panels.
– If screwing the sheets please ensure the screws are countersunk.
– You can cut panels with a power saw, hand saw, plunge saw or a sharp blade. For best results use a sharp saw blade on a circular saw.
– Its recommended to have the face of the sheet down on a soft surface while cutting to avoid scratch or damage while preparing the sheet.
– It is recommended to dry fit panels after cutting.
– All panels must be properly sealed at all edges, whether they are being attached to profiles, shower enclosures or engineered tongue and grove.
– Panels must also always be sealed on the entire perimeter using our recommended sealer, with or without extrusions. Inadequate sealing will invalidate your warranty. If the seal starts to deteriorate, it must be re-sealed immediately, and not allow moisture to penetrate joints or junctions.
– Be sure the wall and sheet is clean and dry prior instillation.
– It is important to ensure that when fitting the first panel you check that it is running straight and plumb using a spirit level. Even if the corner junction to the room is not plumb it is essential to install all sheets plumb.
For further install directions and advice don’t hesitate to get in contact with us directly